Add an event
Add a new event to your website from the Apotome portal: title, description, date, time and venue, then publish. About two minutes.
Events guide, about 2 minutes. Recorded November 17, 2026.
Open Events
Sign in to your portal and choose Events in the menu on the left.
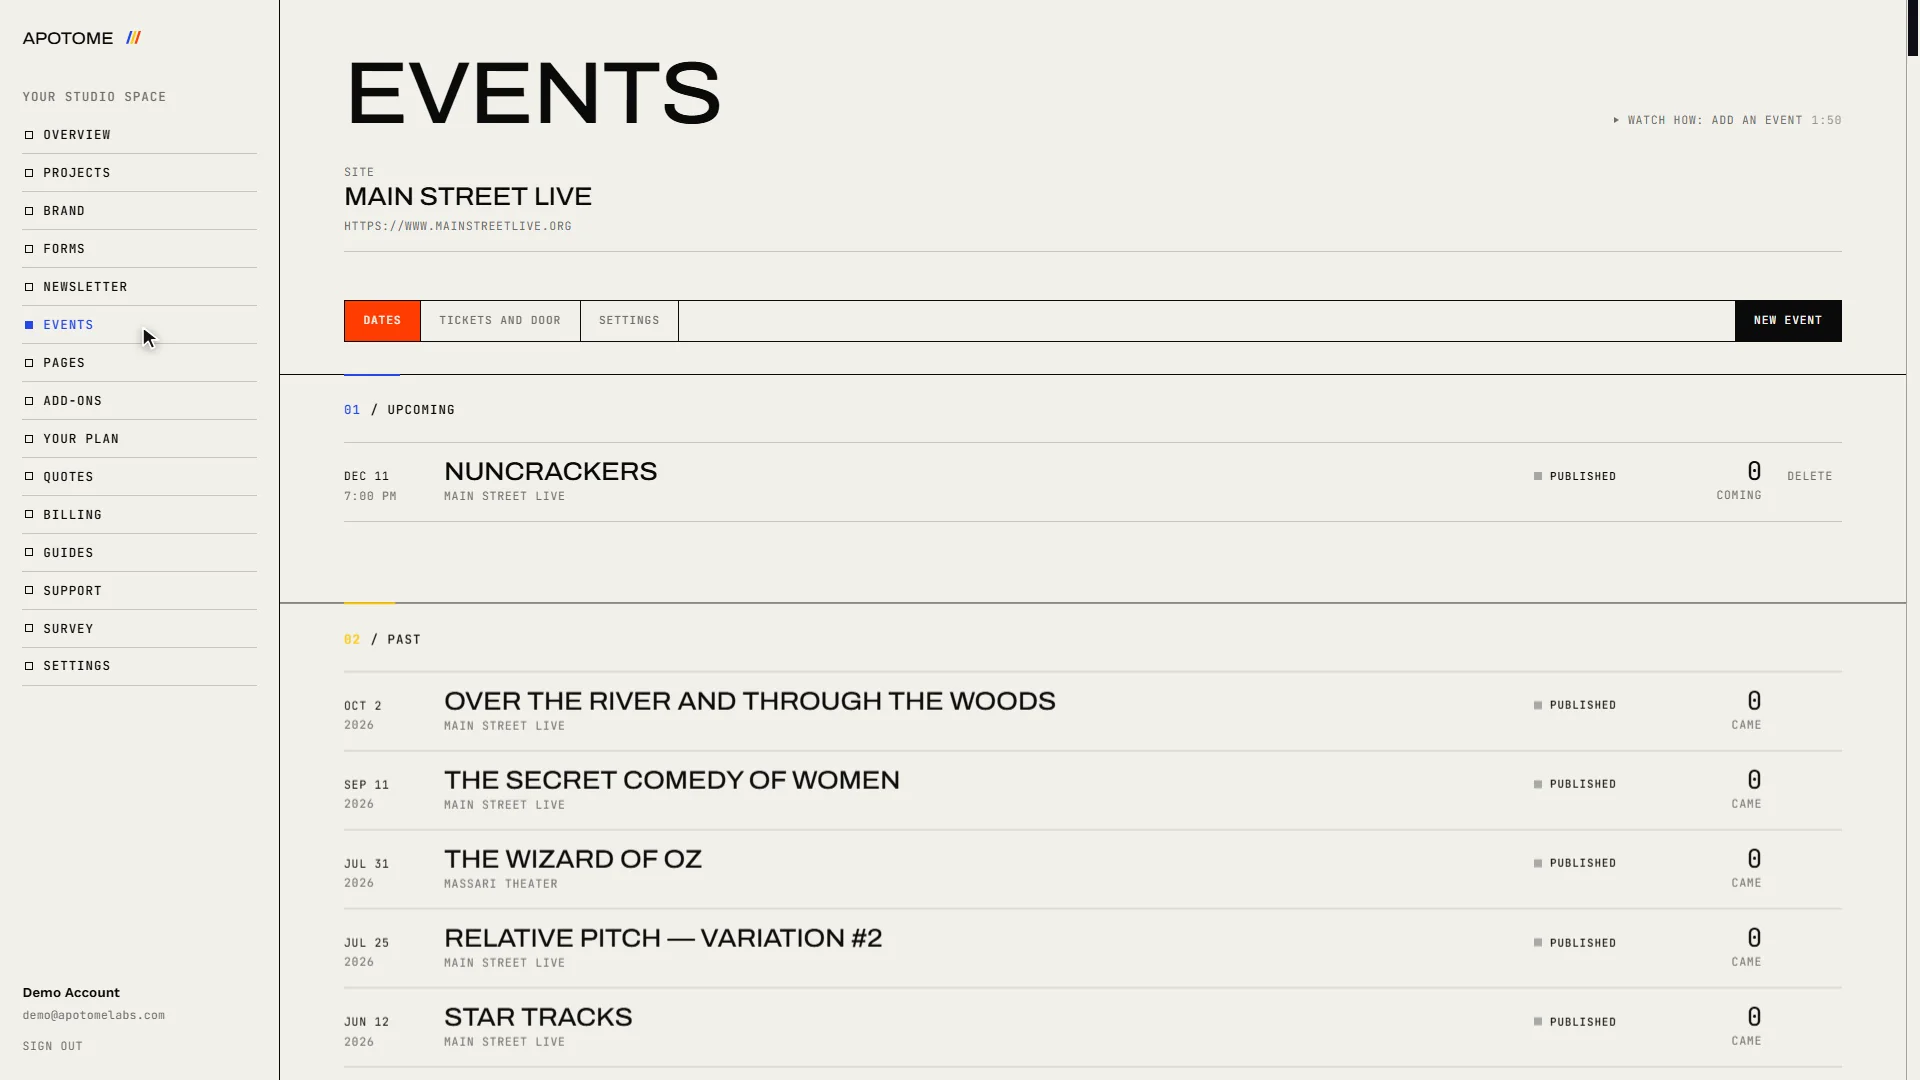
Start a new event
The page lists every event on your site, upcoming dates first. Choose New event at the right of the tab row.
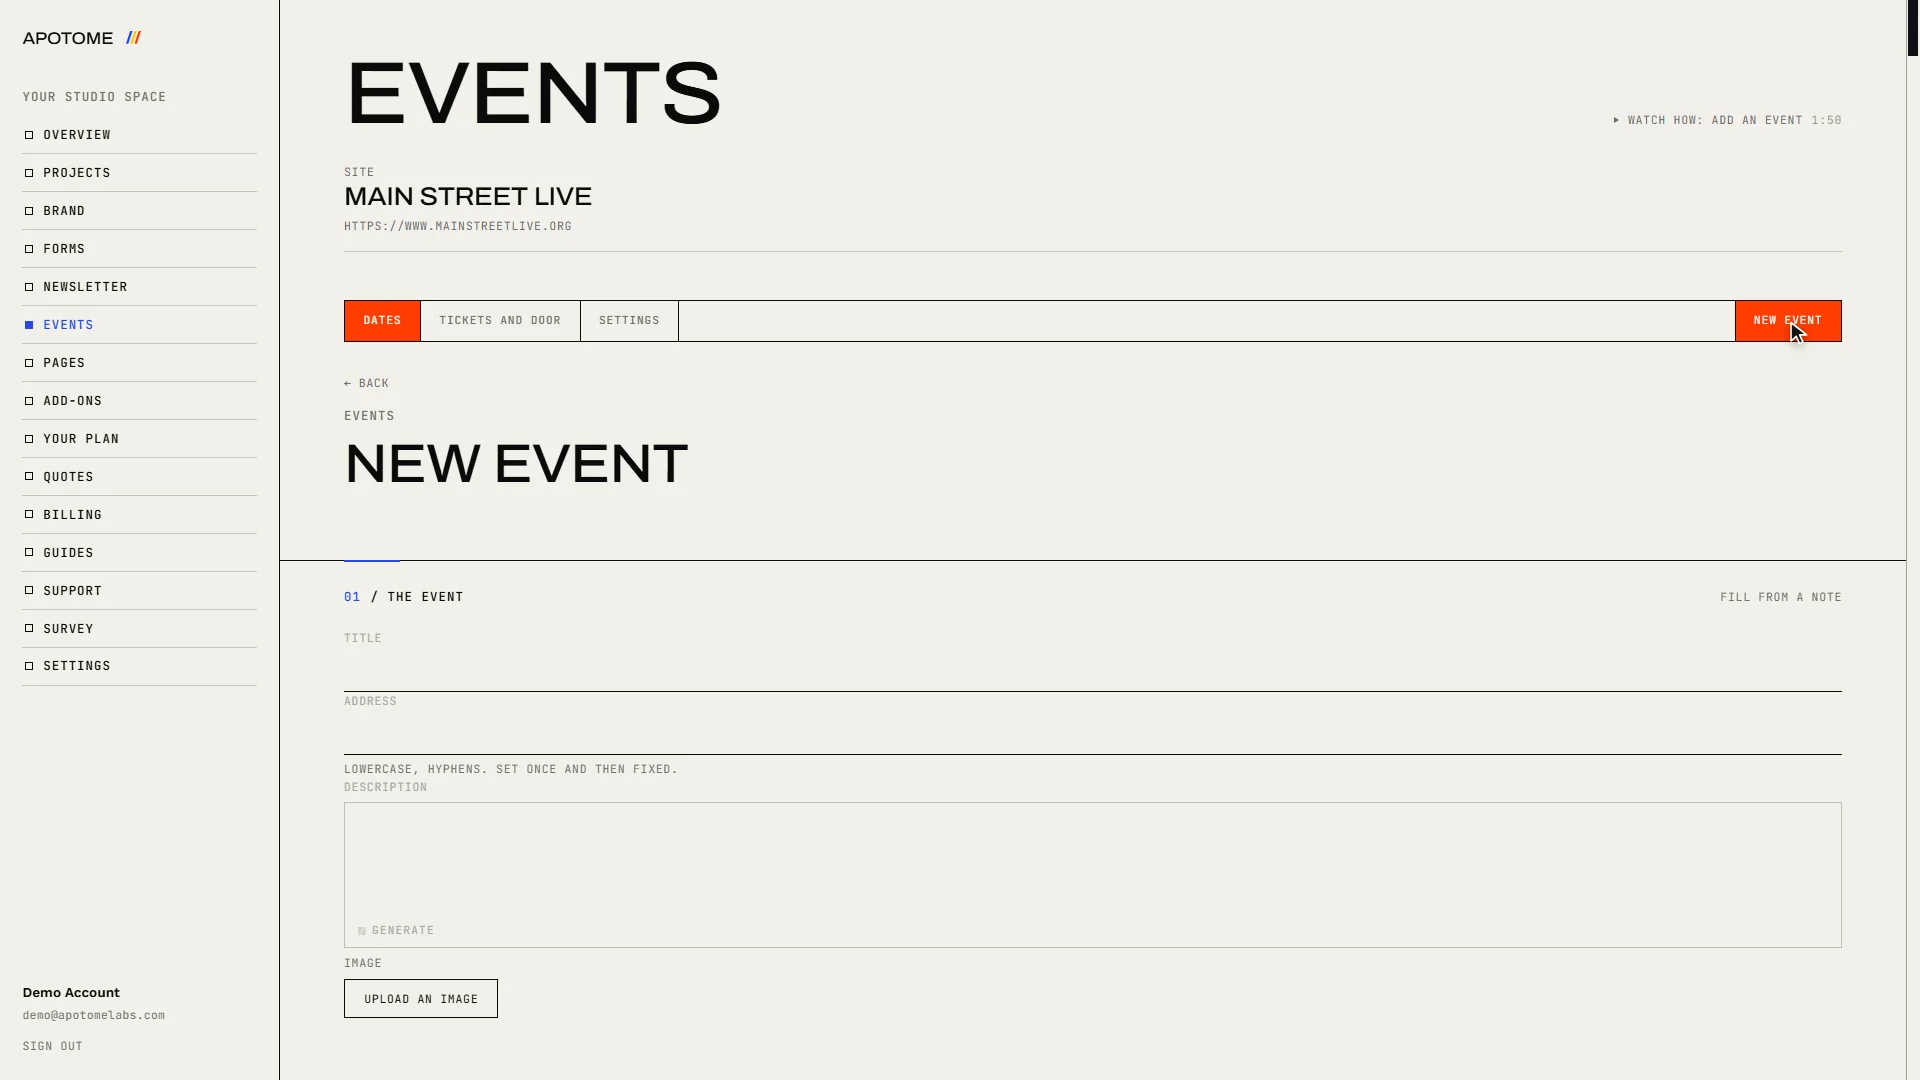
Give it a title
Type a Title. The web address below it fills in from the title on its own. You only need to change it if you want a shorter link.
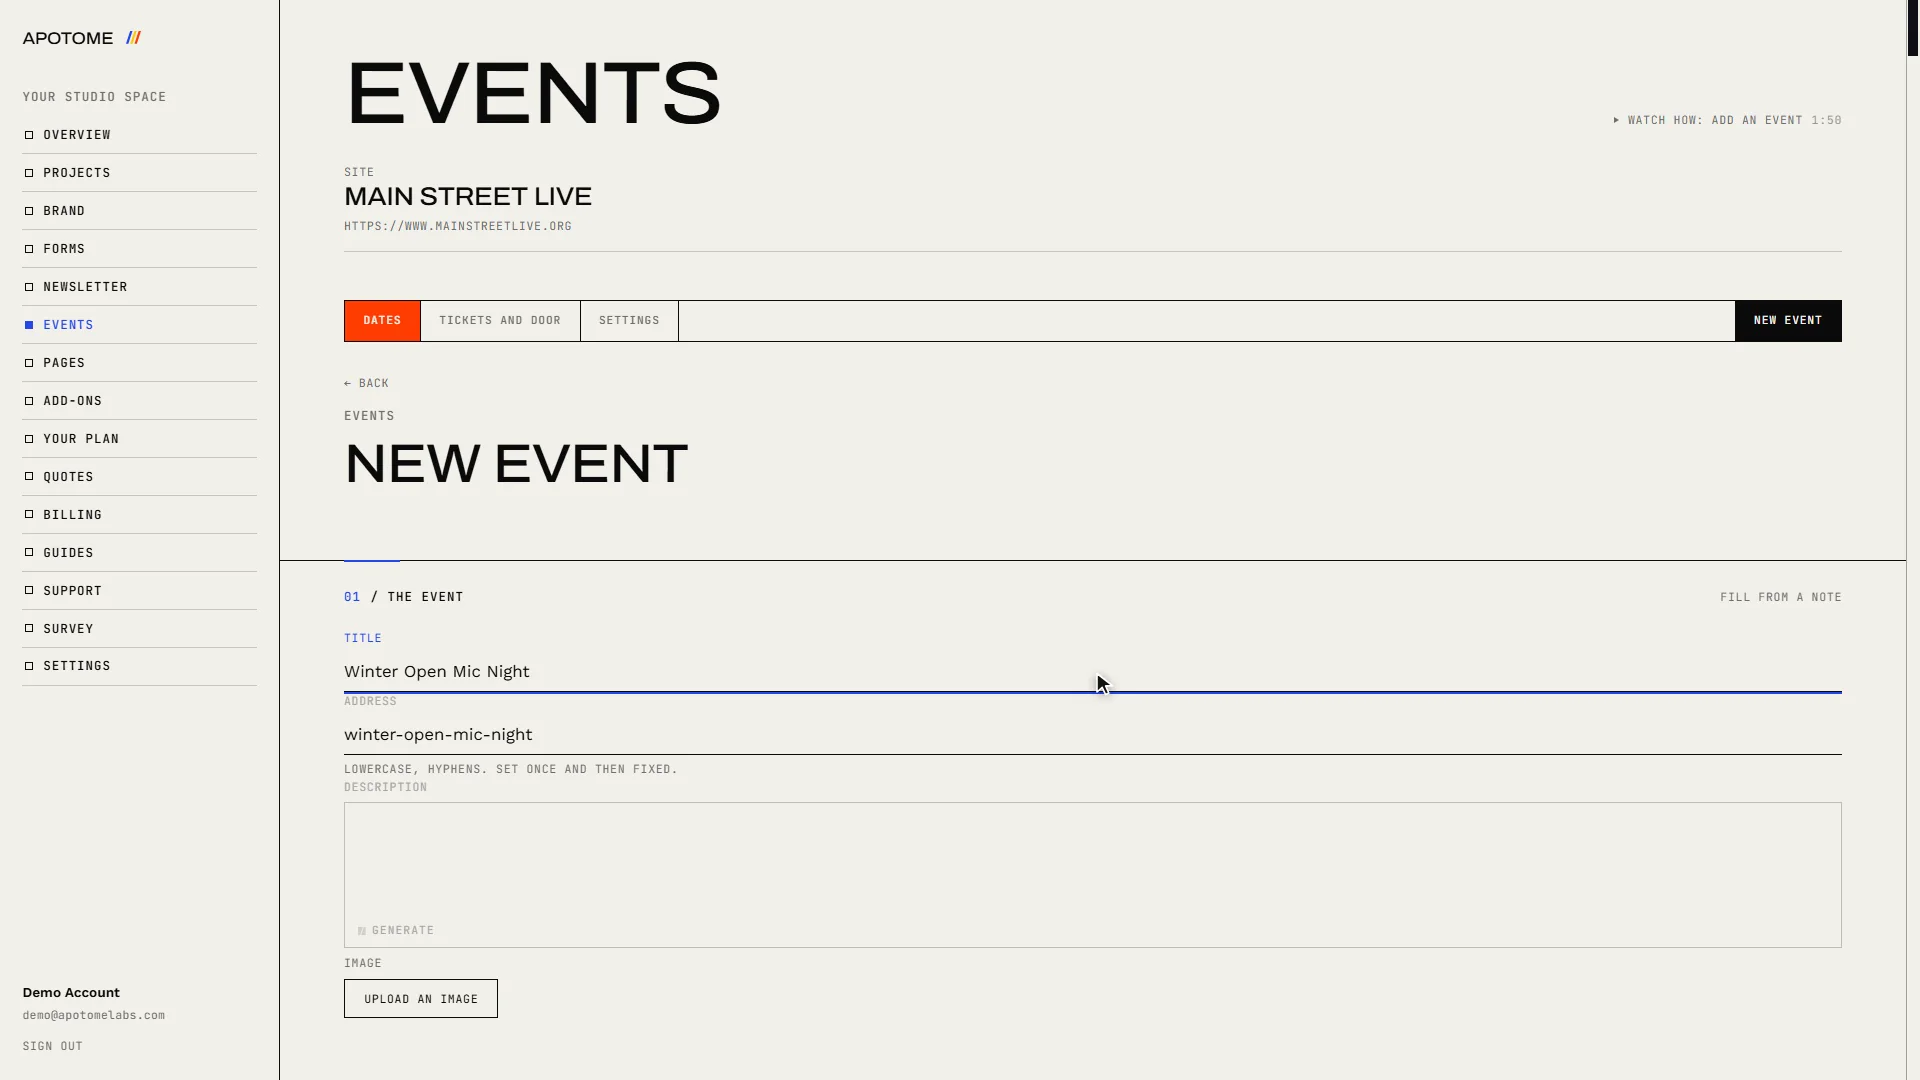
Describe it
Write a short Description. Visitors read this on your website, so say what the event is and who it is for. Upload an image adds a poster or photo; it is optional.
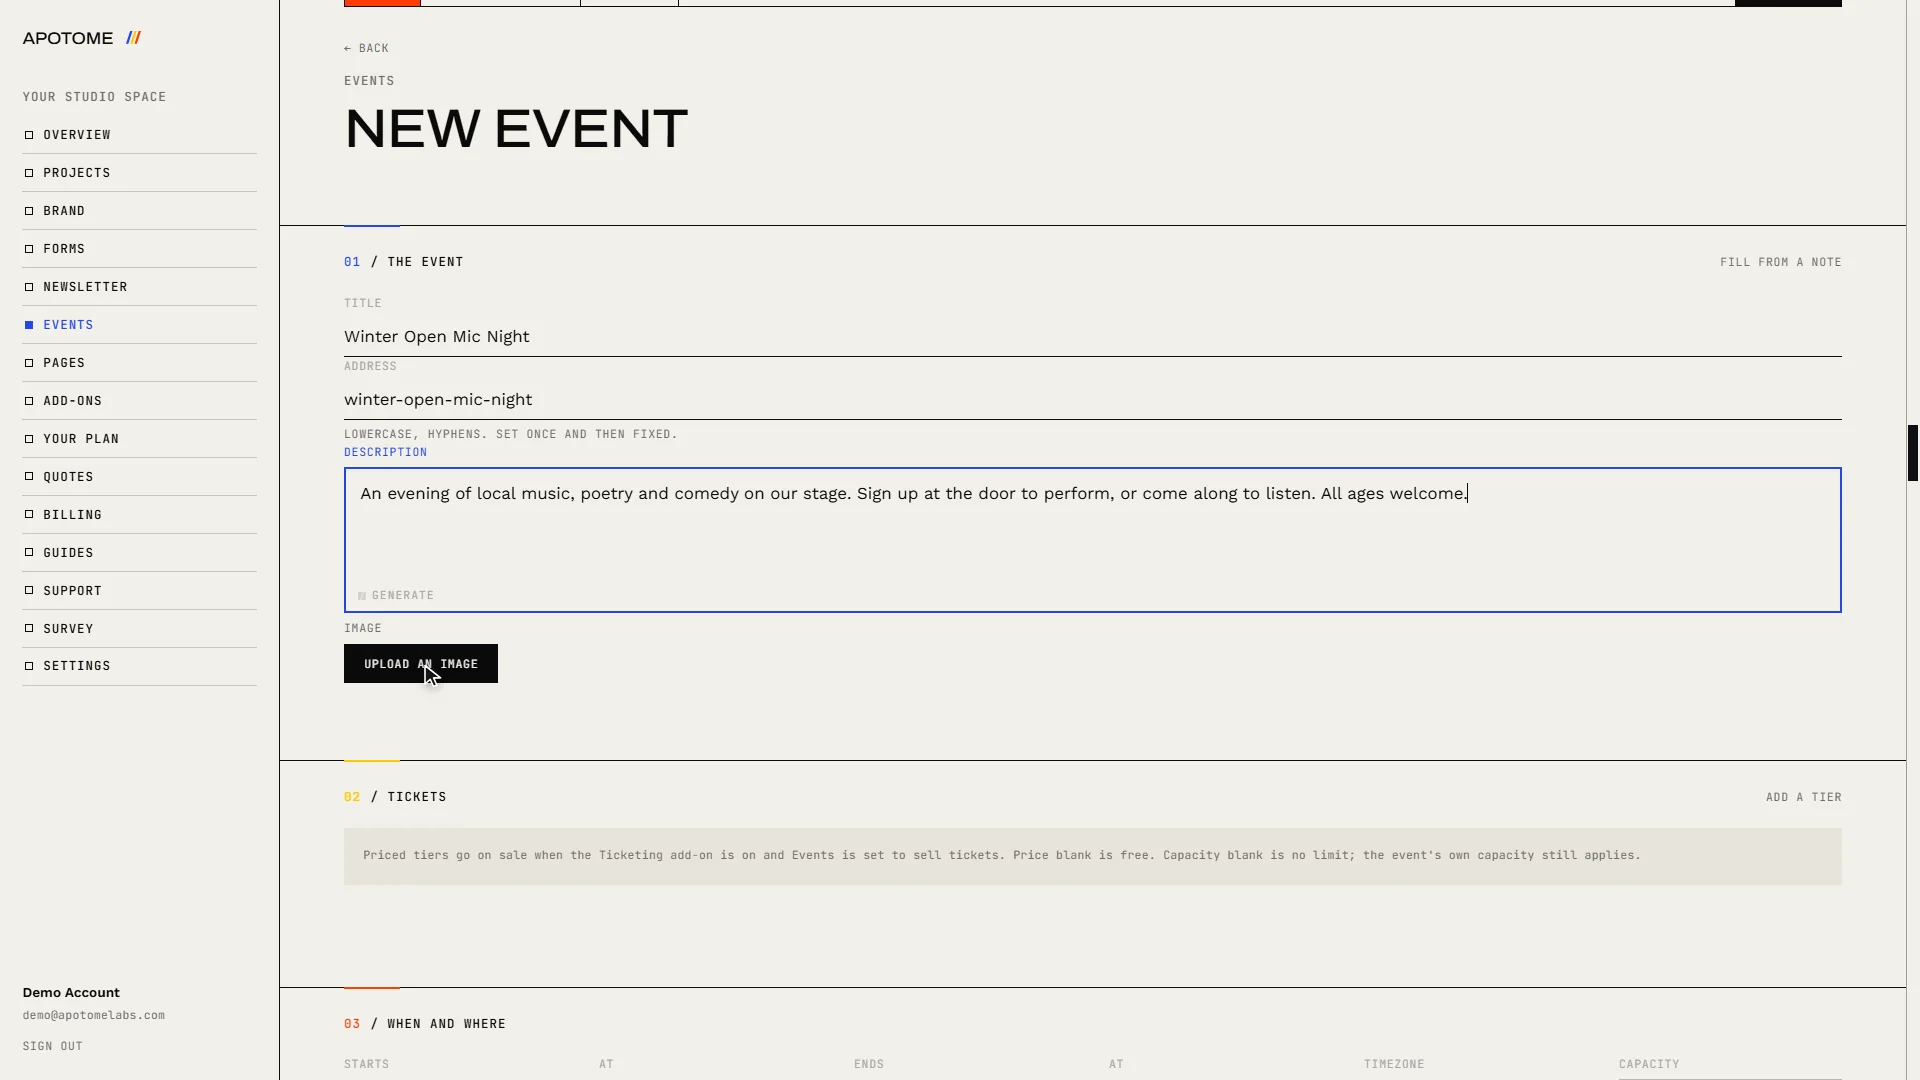
Set the date and time
Under When and where, choose Starts and pick the day. Then choose At and set the time: AM or PM first, then the hour, then the minutes. An end date and time are optional.
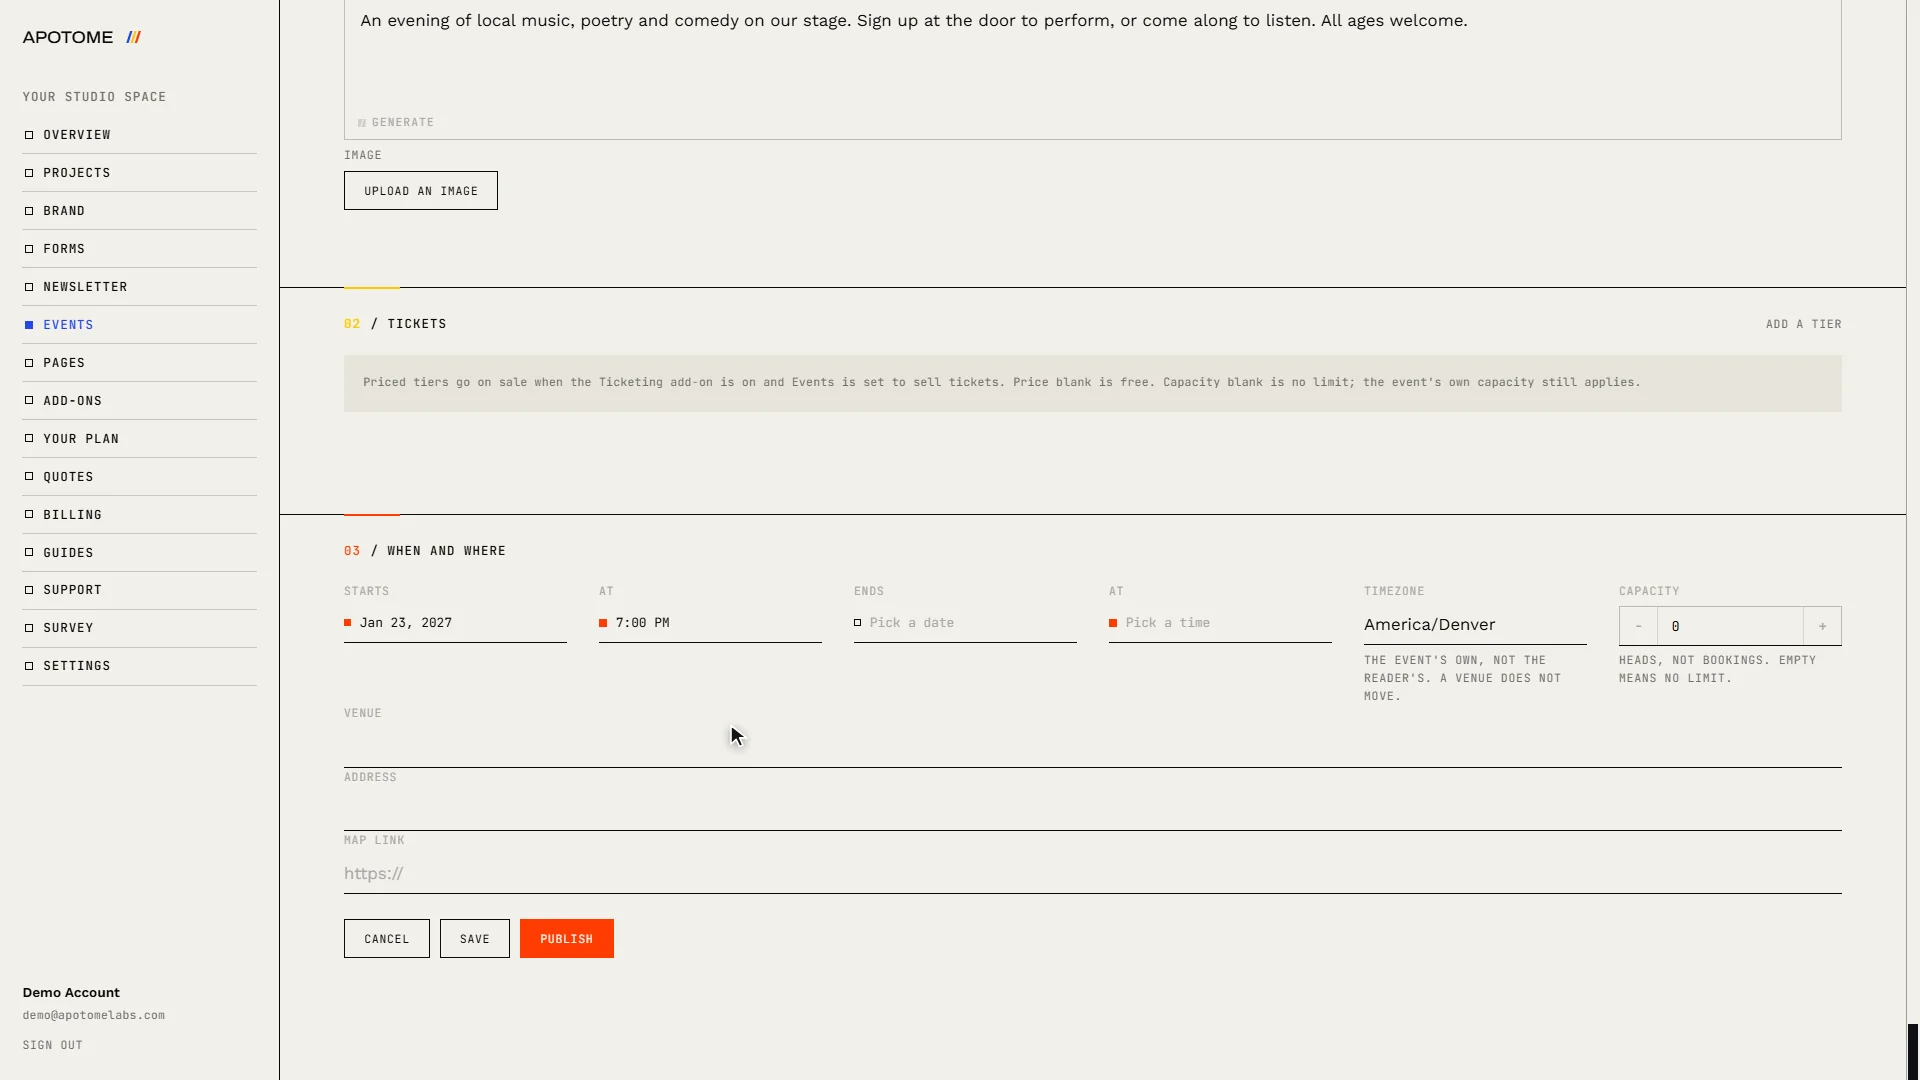
Add the venue
Fill in Venue and its Address. Both show on the event listing. Map link is optional.
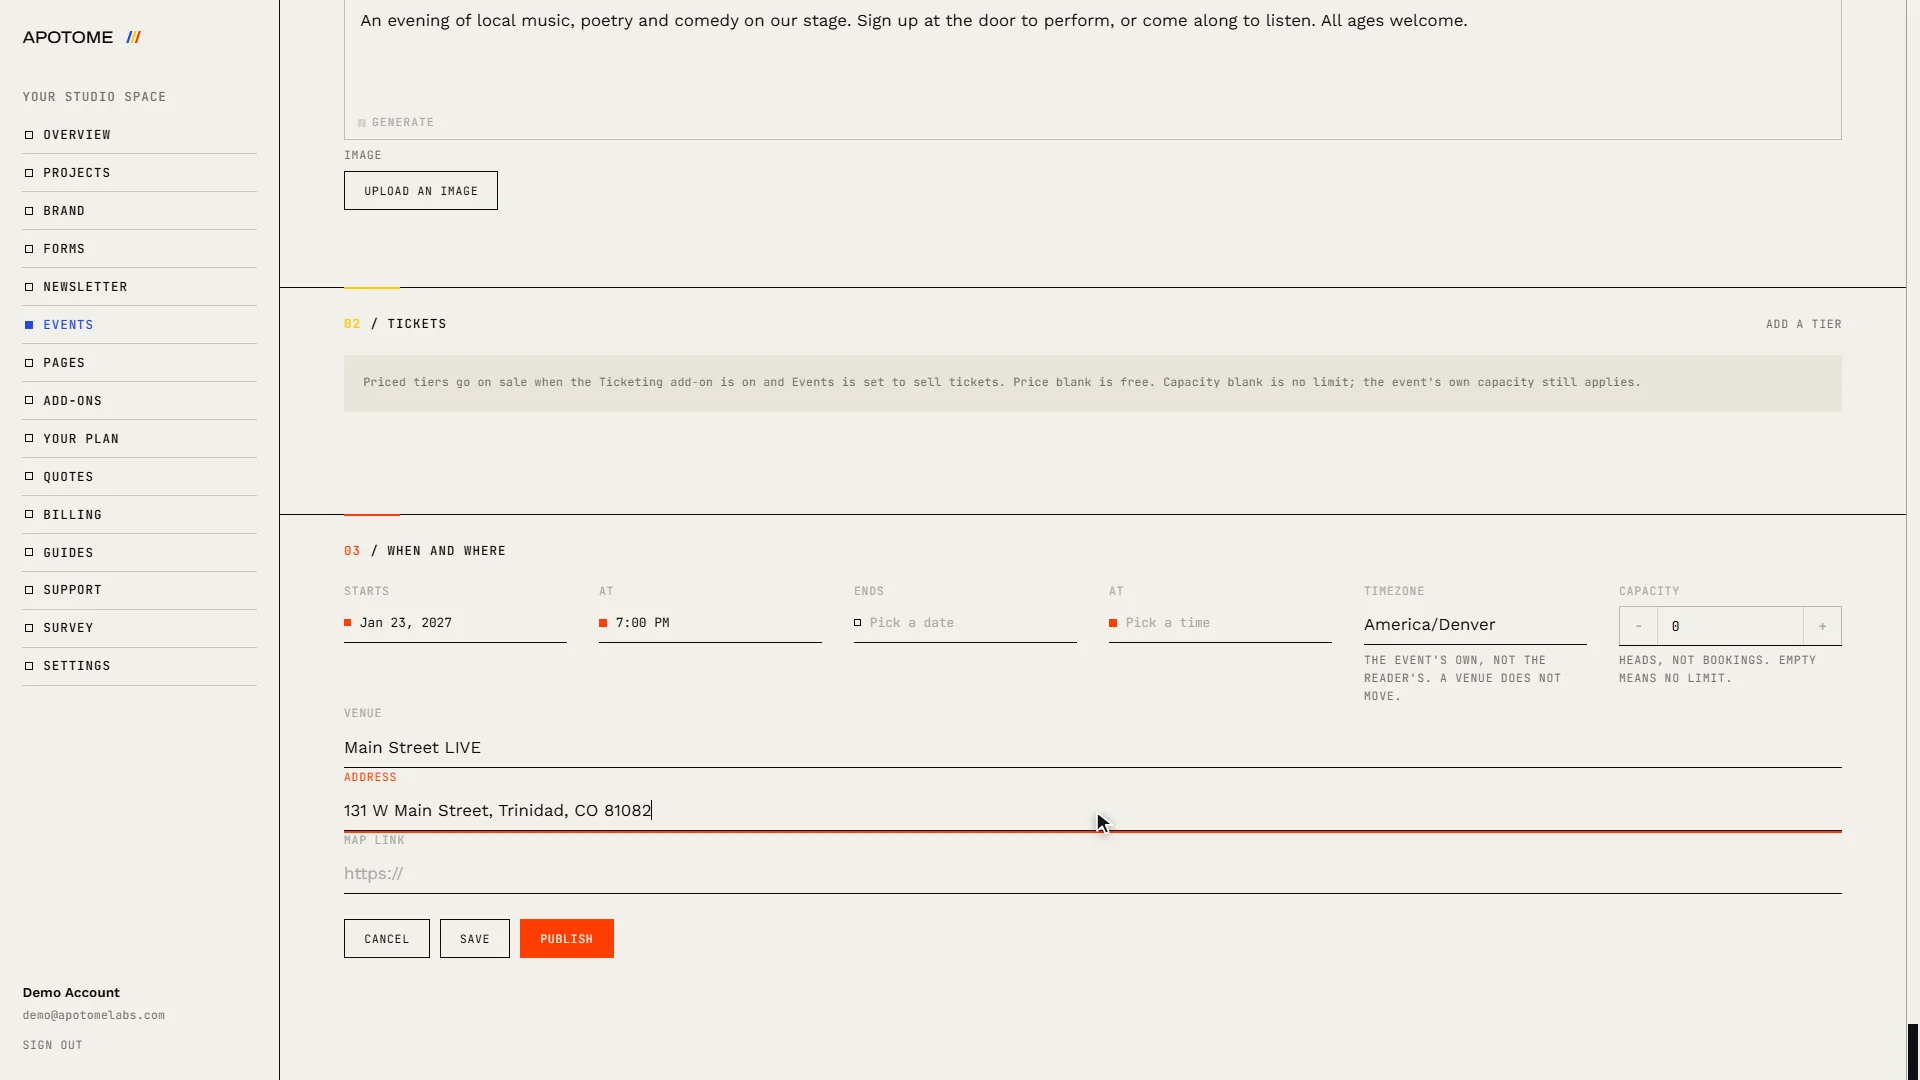
Publish
Choose Publish to put the event on your website. Save keeps it as a draft that only you can see, so you can come back to it.
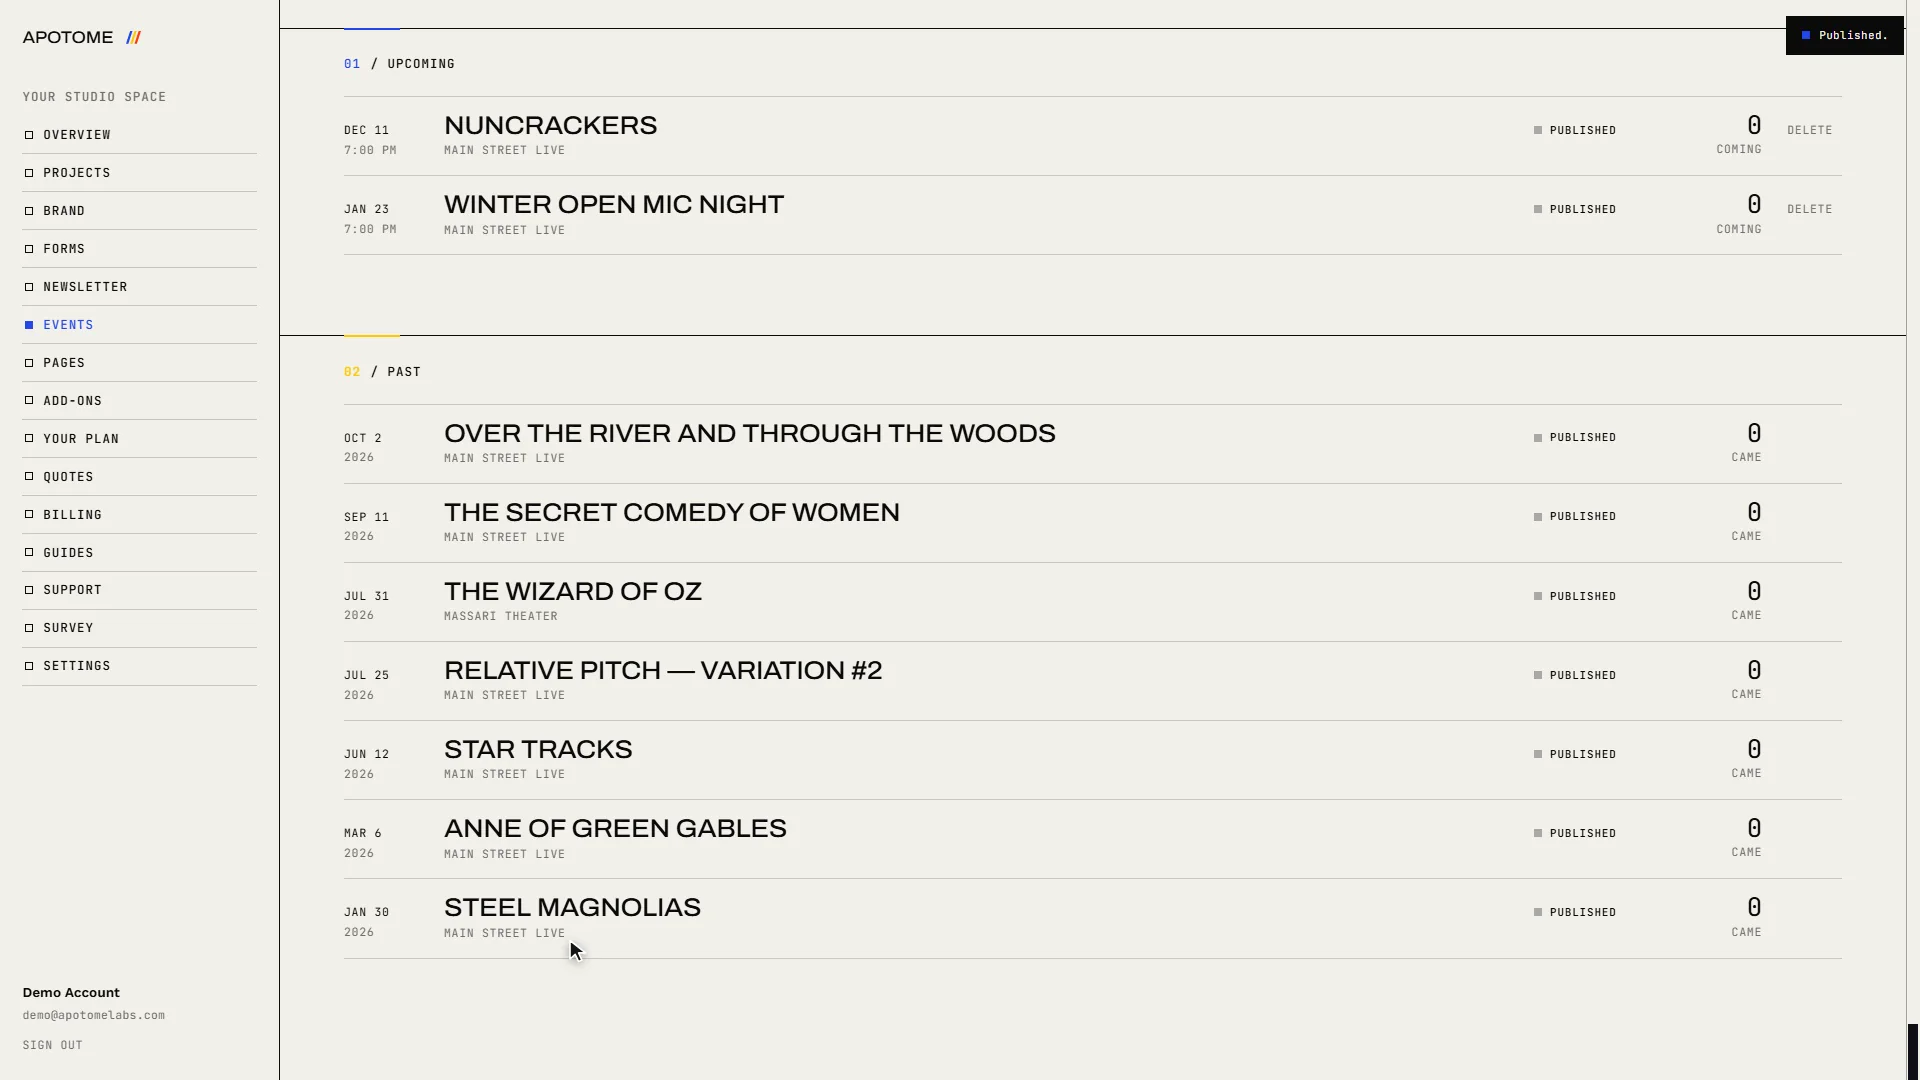
Check your list
The event now appears under Upcoming, marked Published. Select it in this list any time to change the details.
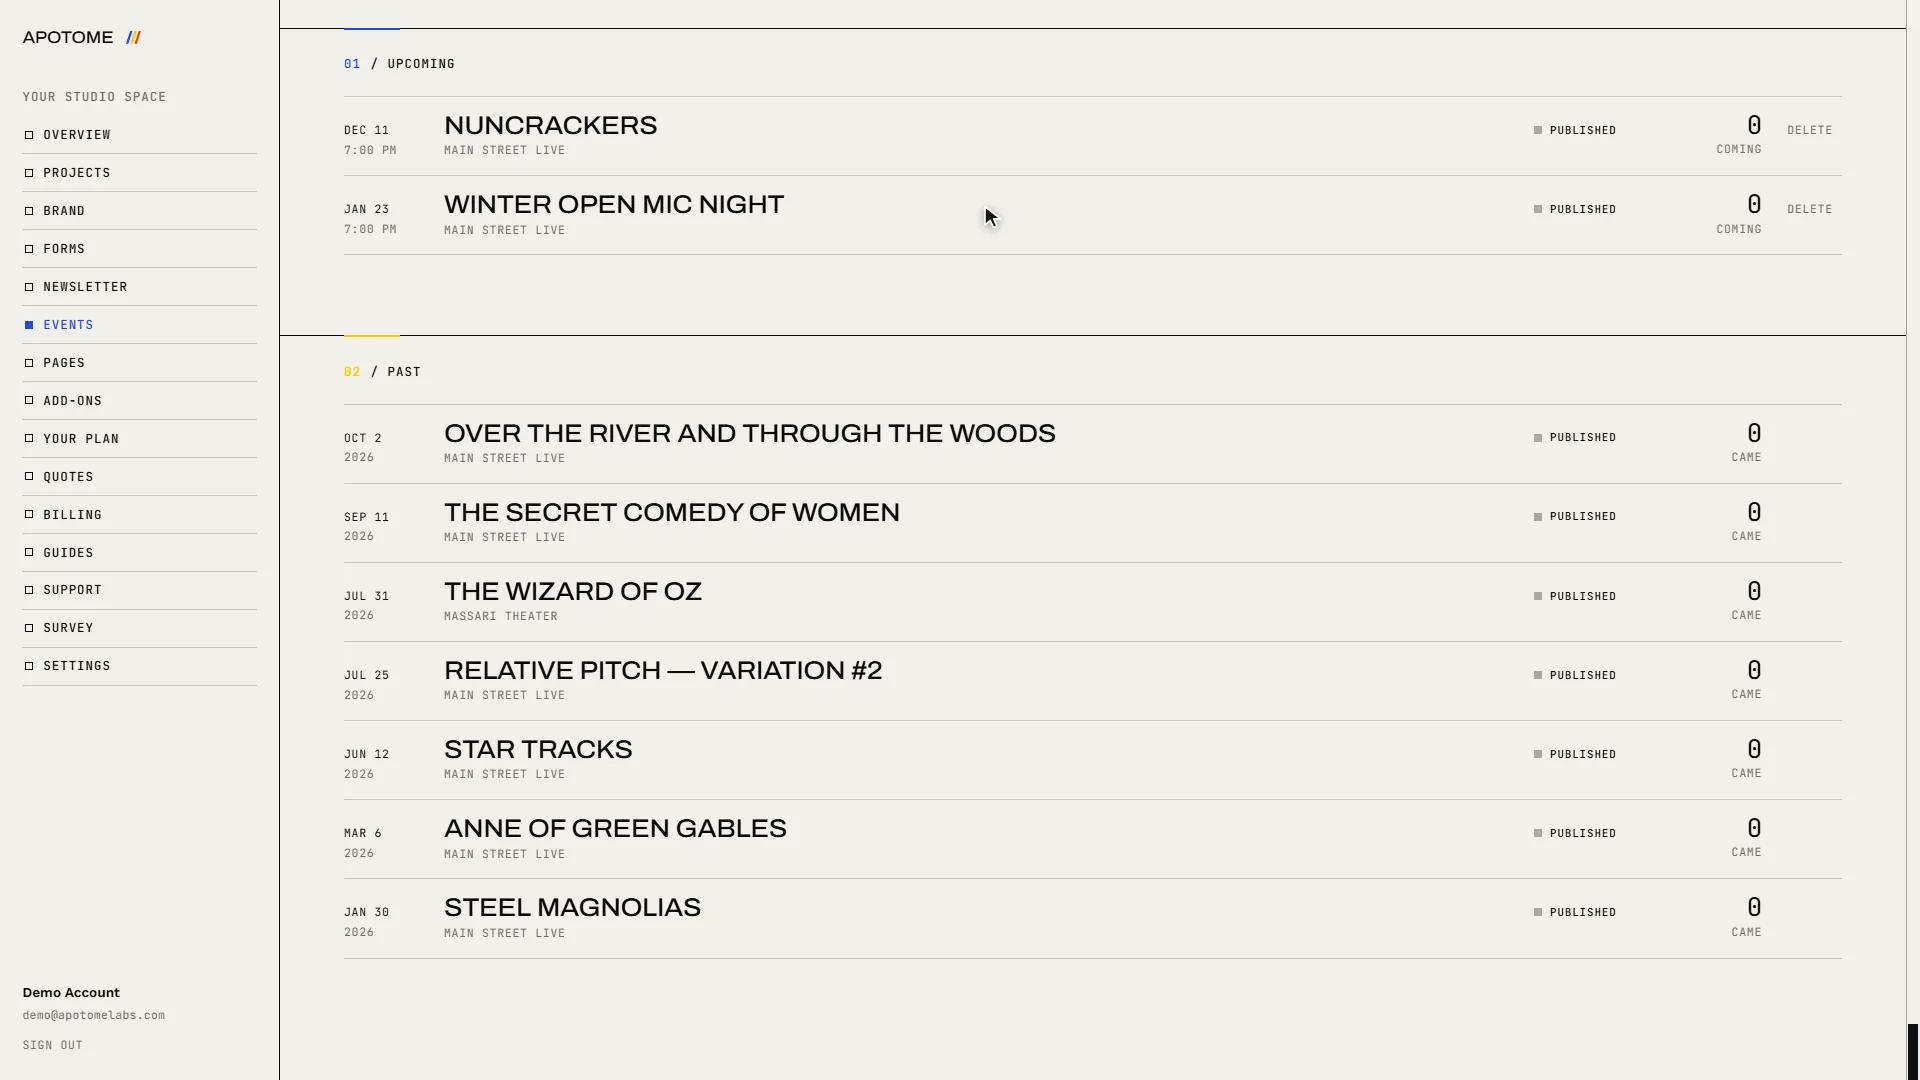
See it on your website
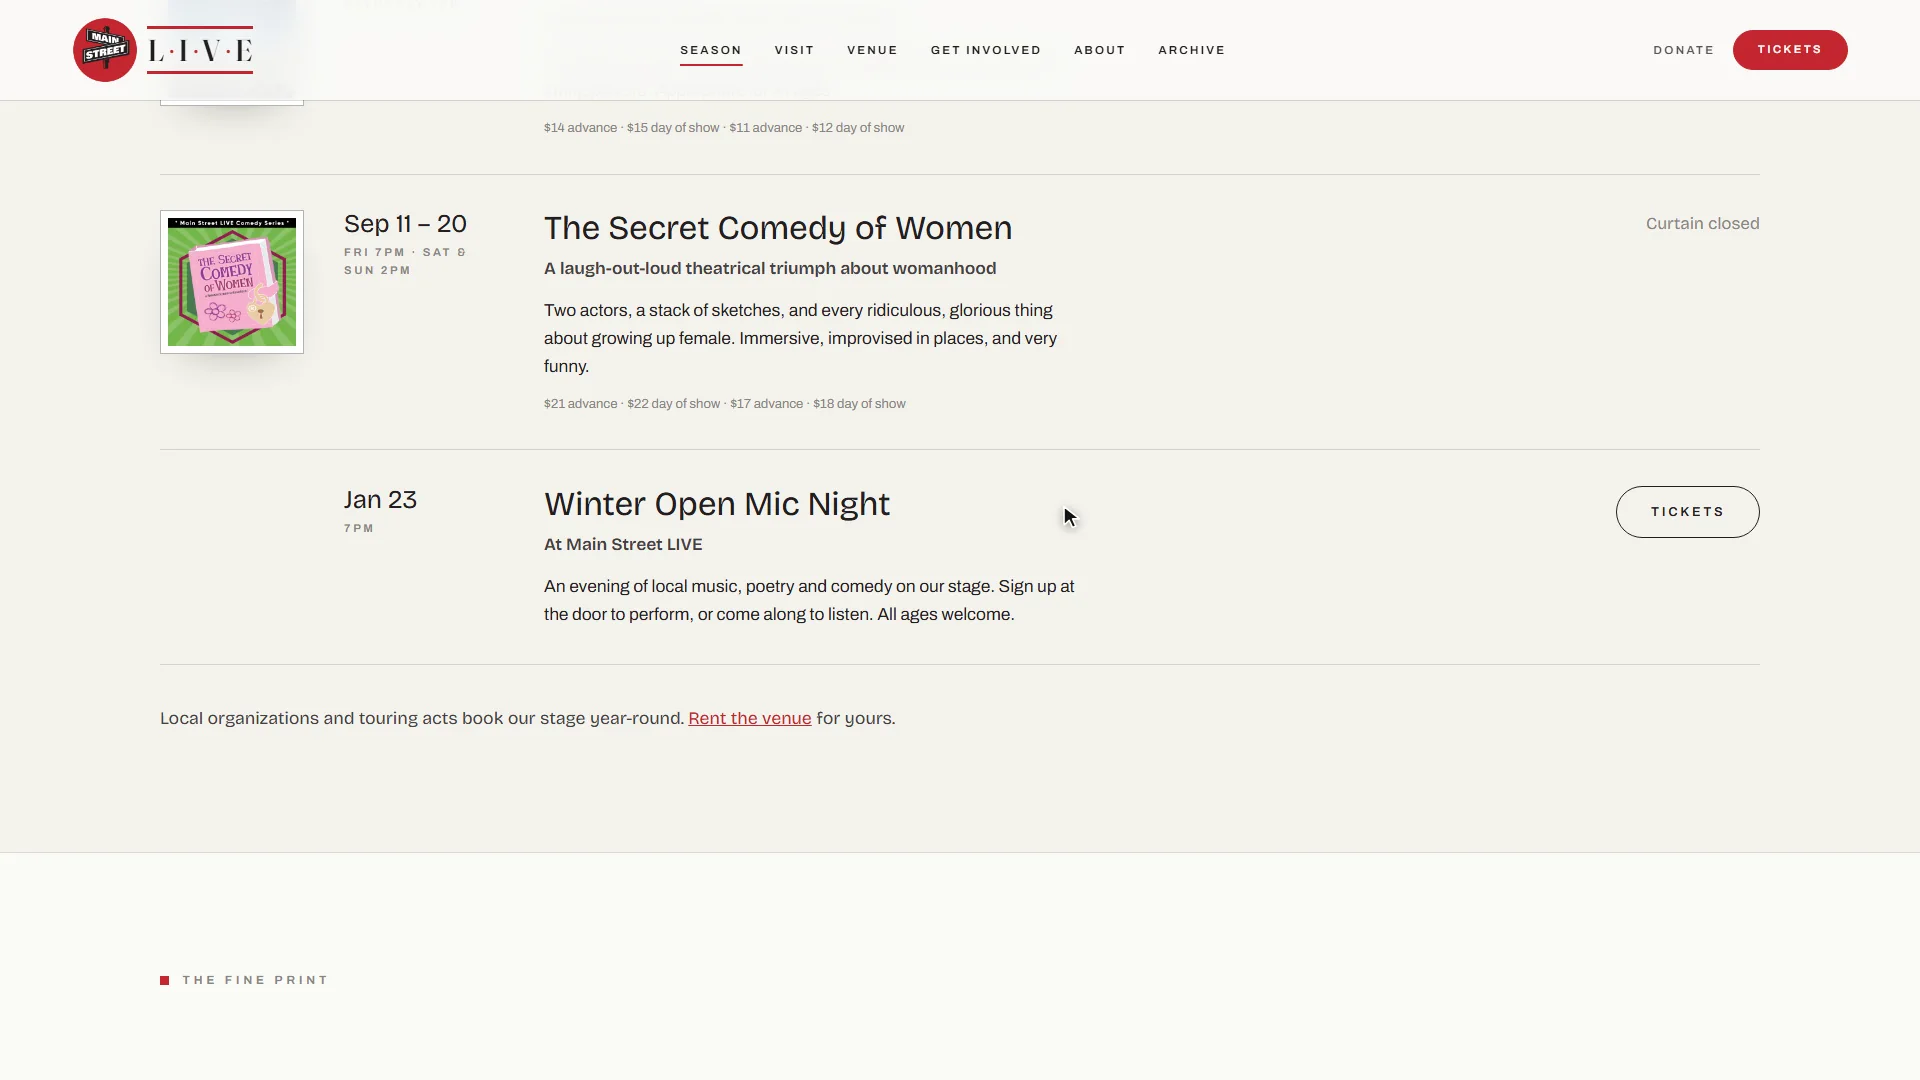
Open your website and go to the season page. The new event is there for your visitors. There is nothing else to publish.
Related guides
- Change or remove an event: Update an event that is already on your website (its time, its description) and remove one you no longer need, from the Events page of your portal.
- A tour of your portal: A two-minute walk through your Apotome Labs portal: what each item in the menu is for, from your project and brand to events, newsletter, billing and support.
- Edit your website: Change the words on your website yourself: open the editor from your portal, click the text, type, and publish. Your site updates in about a minute.